Adventures in Woodworking- Back at It
Mar 10, 2017 | Samantha Dyck, Operations Manager, Hard Hat Hunter

Sign, Sign, Everywhere a Sign
Canadore’s carpentry class was back on as usual this week- yay! I picked back up from where I left off two weeks ago with my wooden sign. I grabbed the boards that I had already made square and cut to size, as well as some medium-sized clamps and wood glue. I positioned the boards so that they curved in opposite directions, making a wave pattern with the natural bow of each piece of wood. It was recommended to do this so that the finished sign will not curve in one direction once it was completed. Once I had the board positioned, I got the clamps ready and then started applying wood glue.
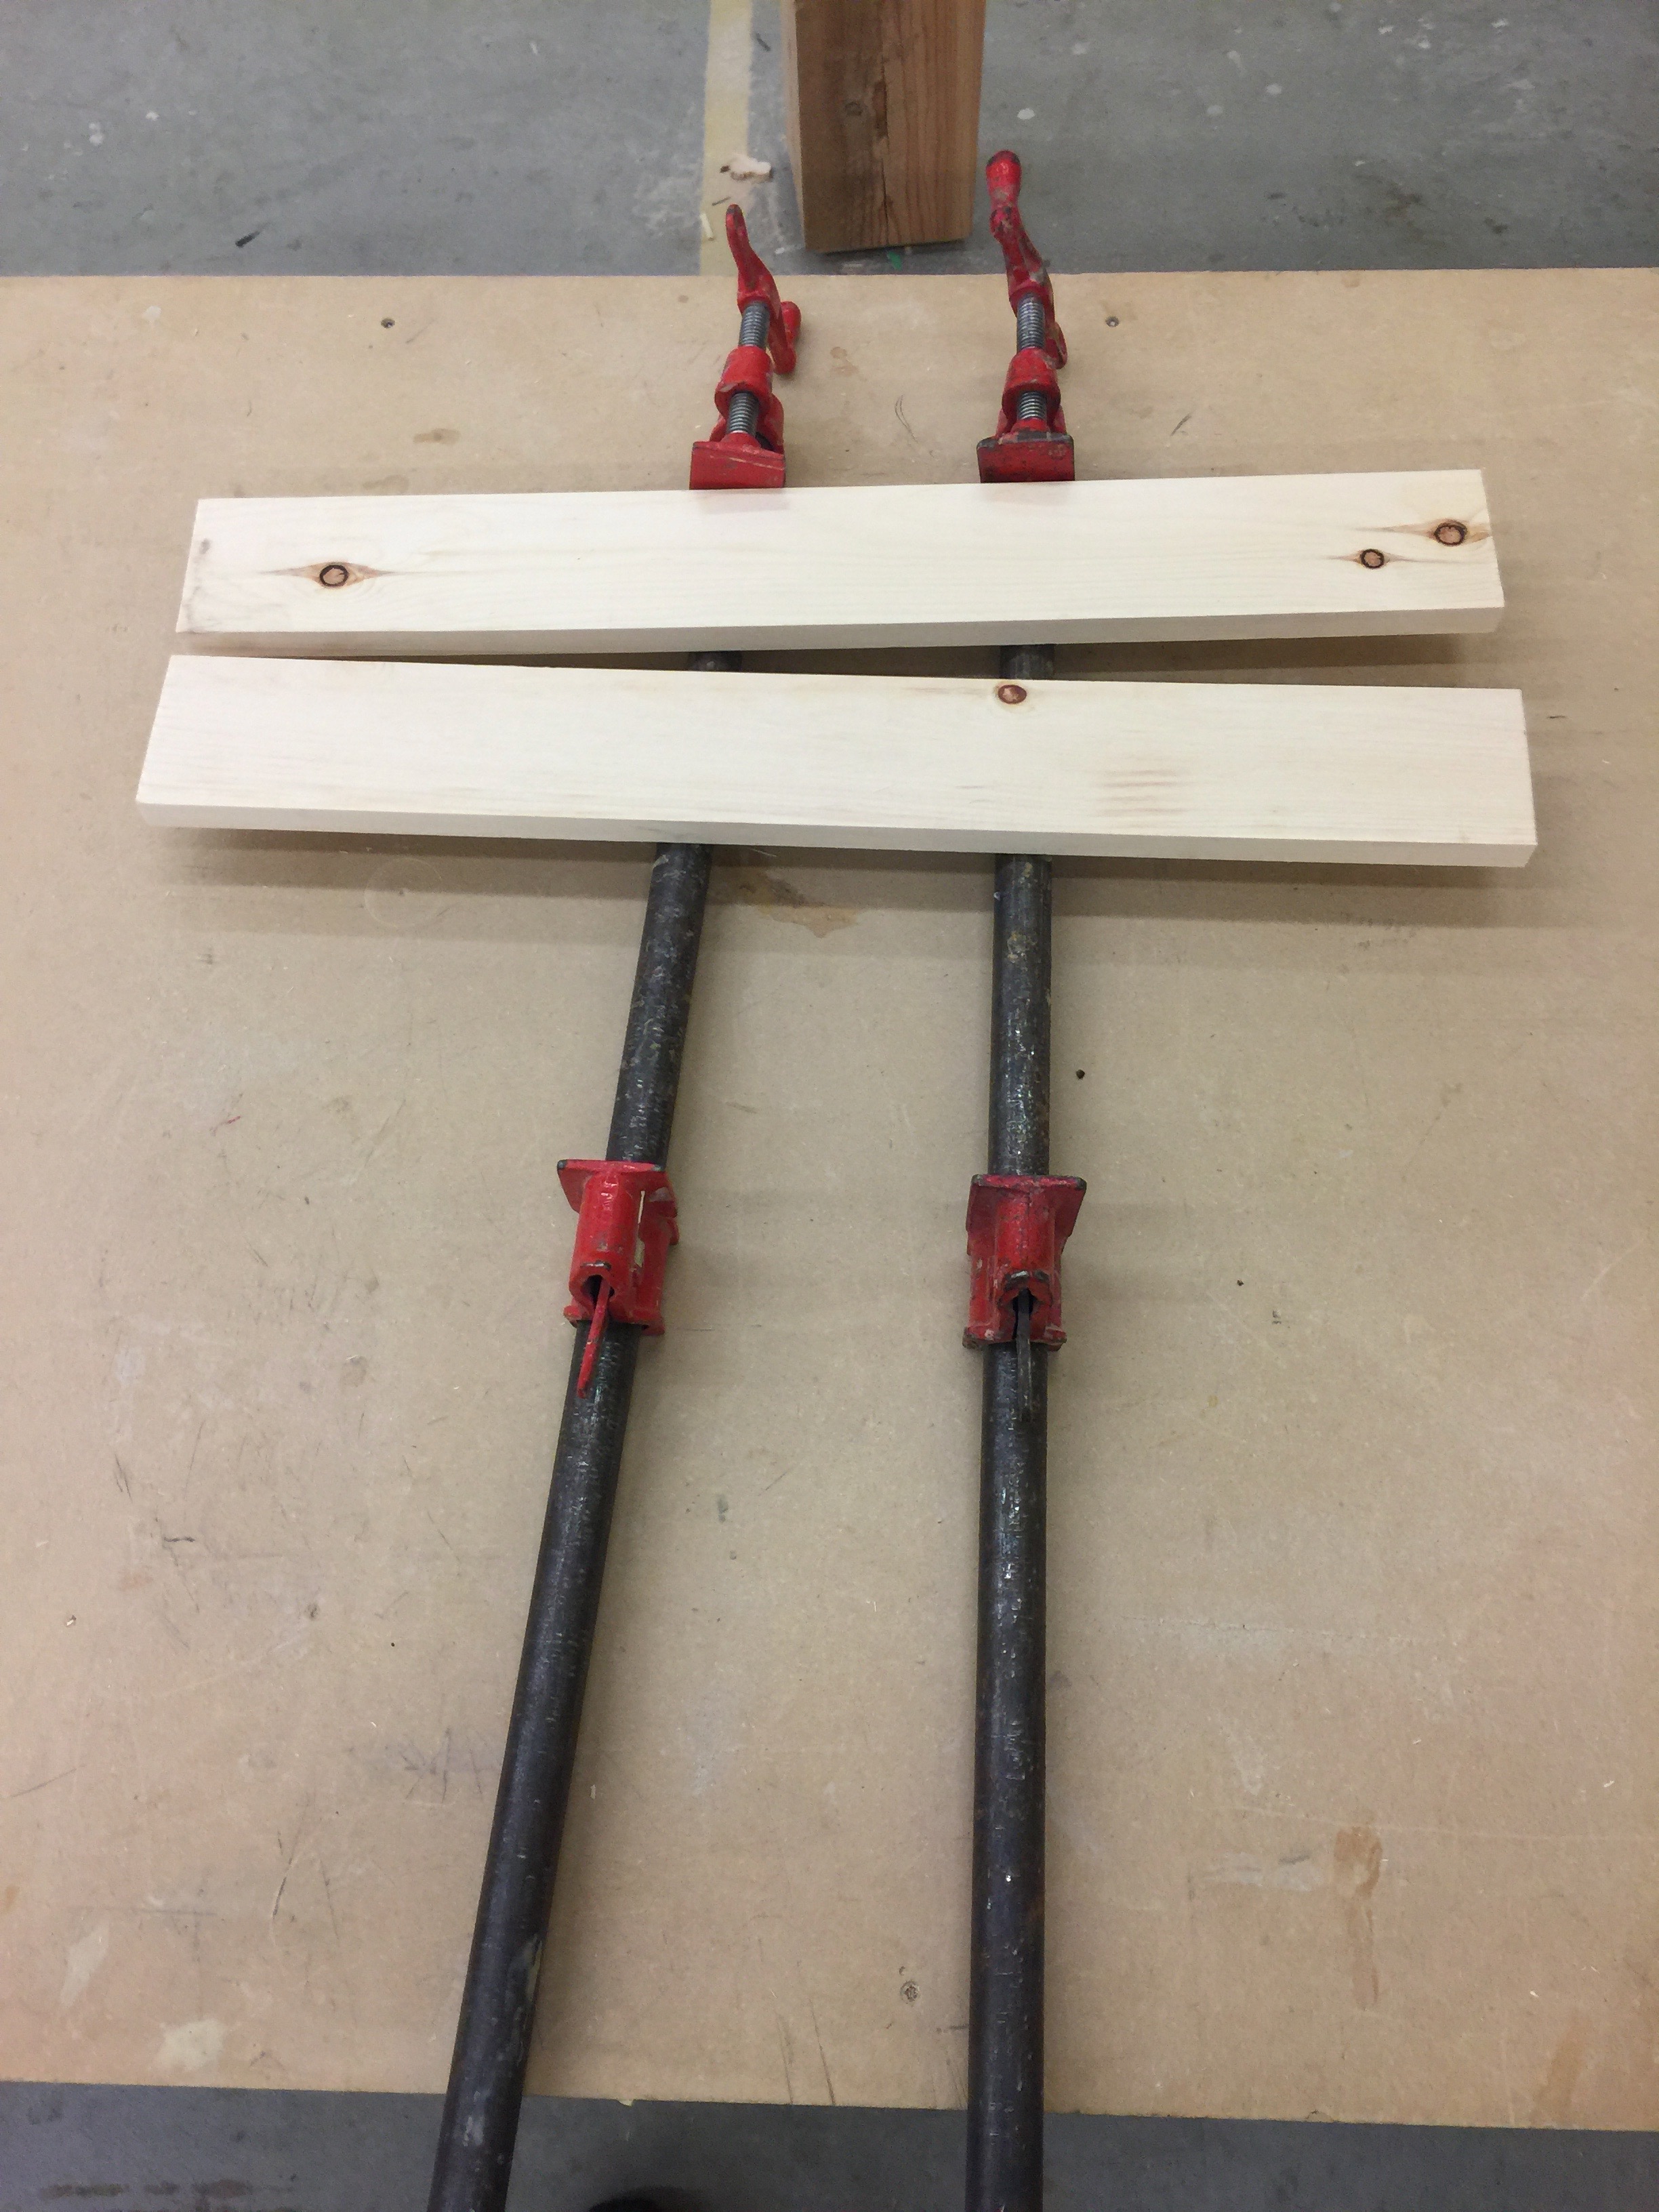
As soon as the pieces were glued together, I secured the clamps. 45 minutes on the clock until it was good and dry. While I waited, I discovered that I had enough left over wood to make a second sign. Score!I repeated the same process as last time: using a chop saw to cut the pieces in equal length, followed by a quick pass on each side on the jointer planer to make the edges square. Next, I used another 4 clamps and wood glue, and glued the pieces together. More waiting.
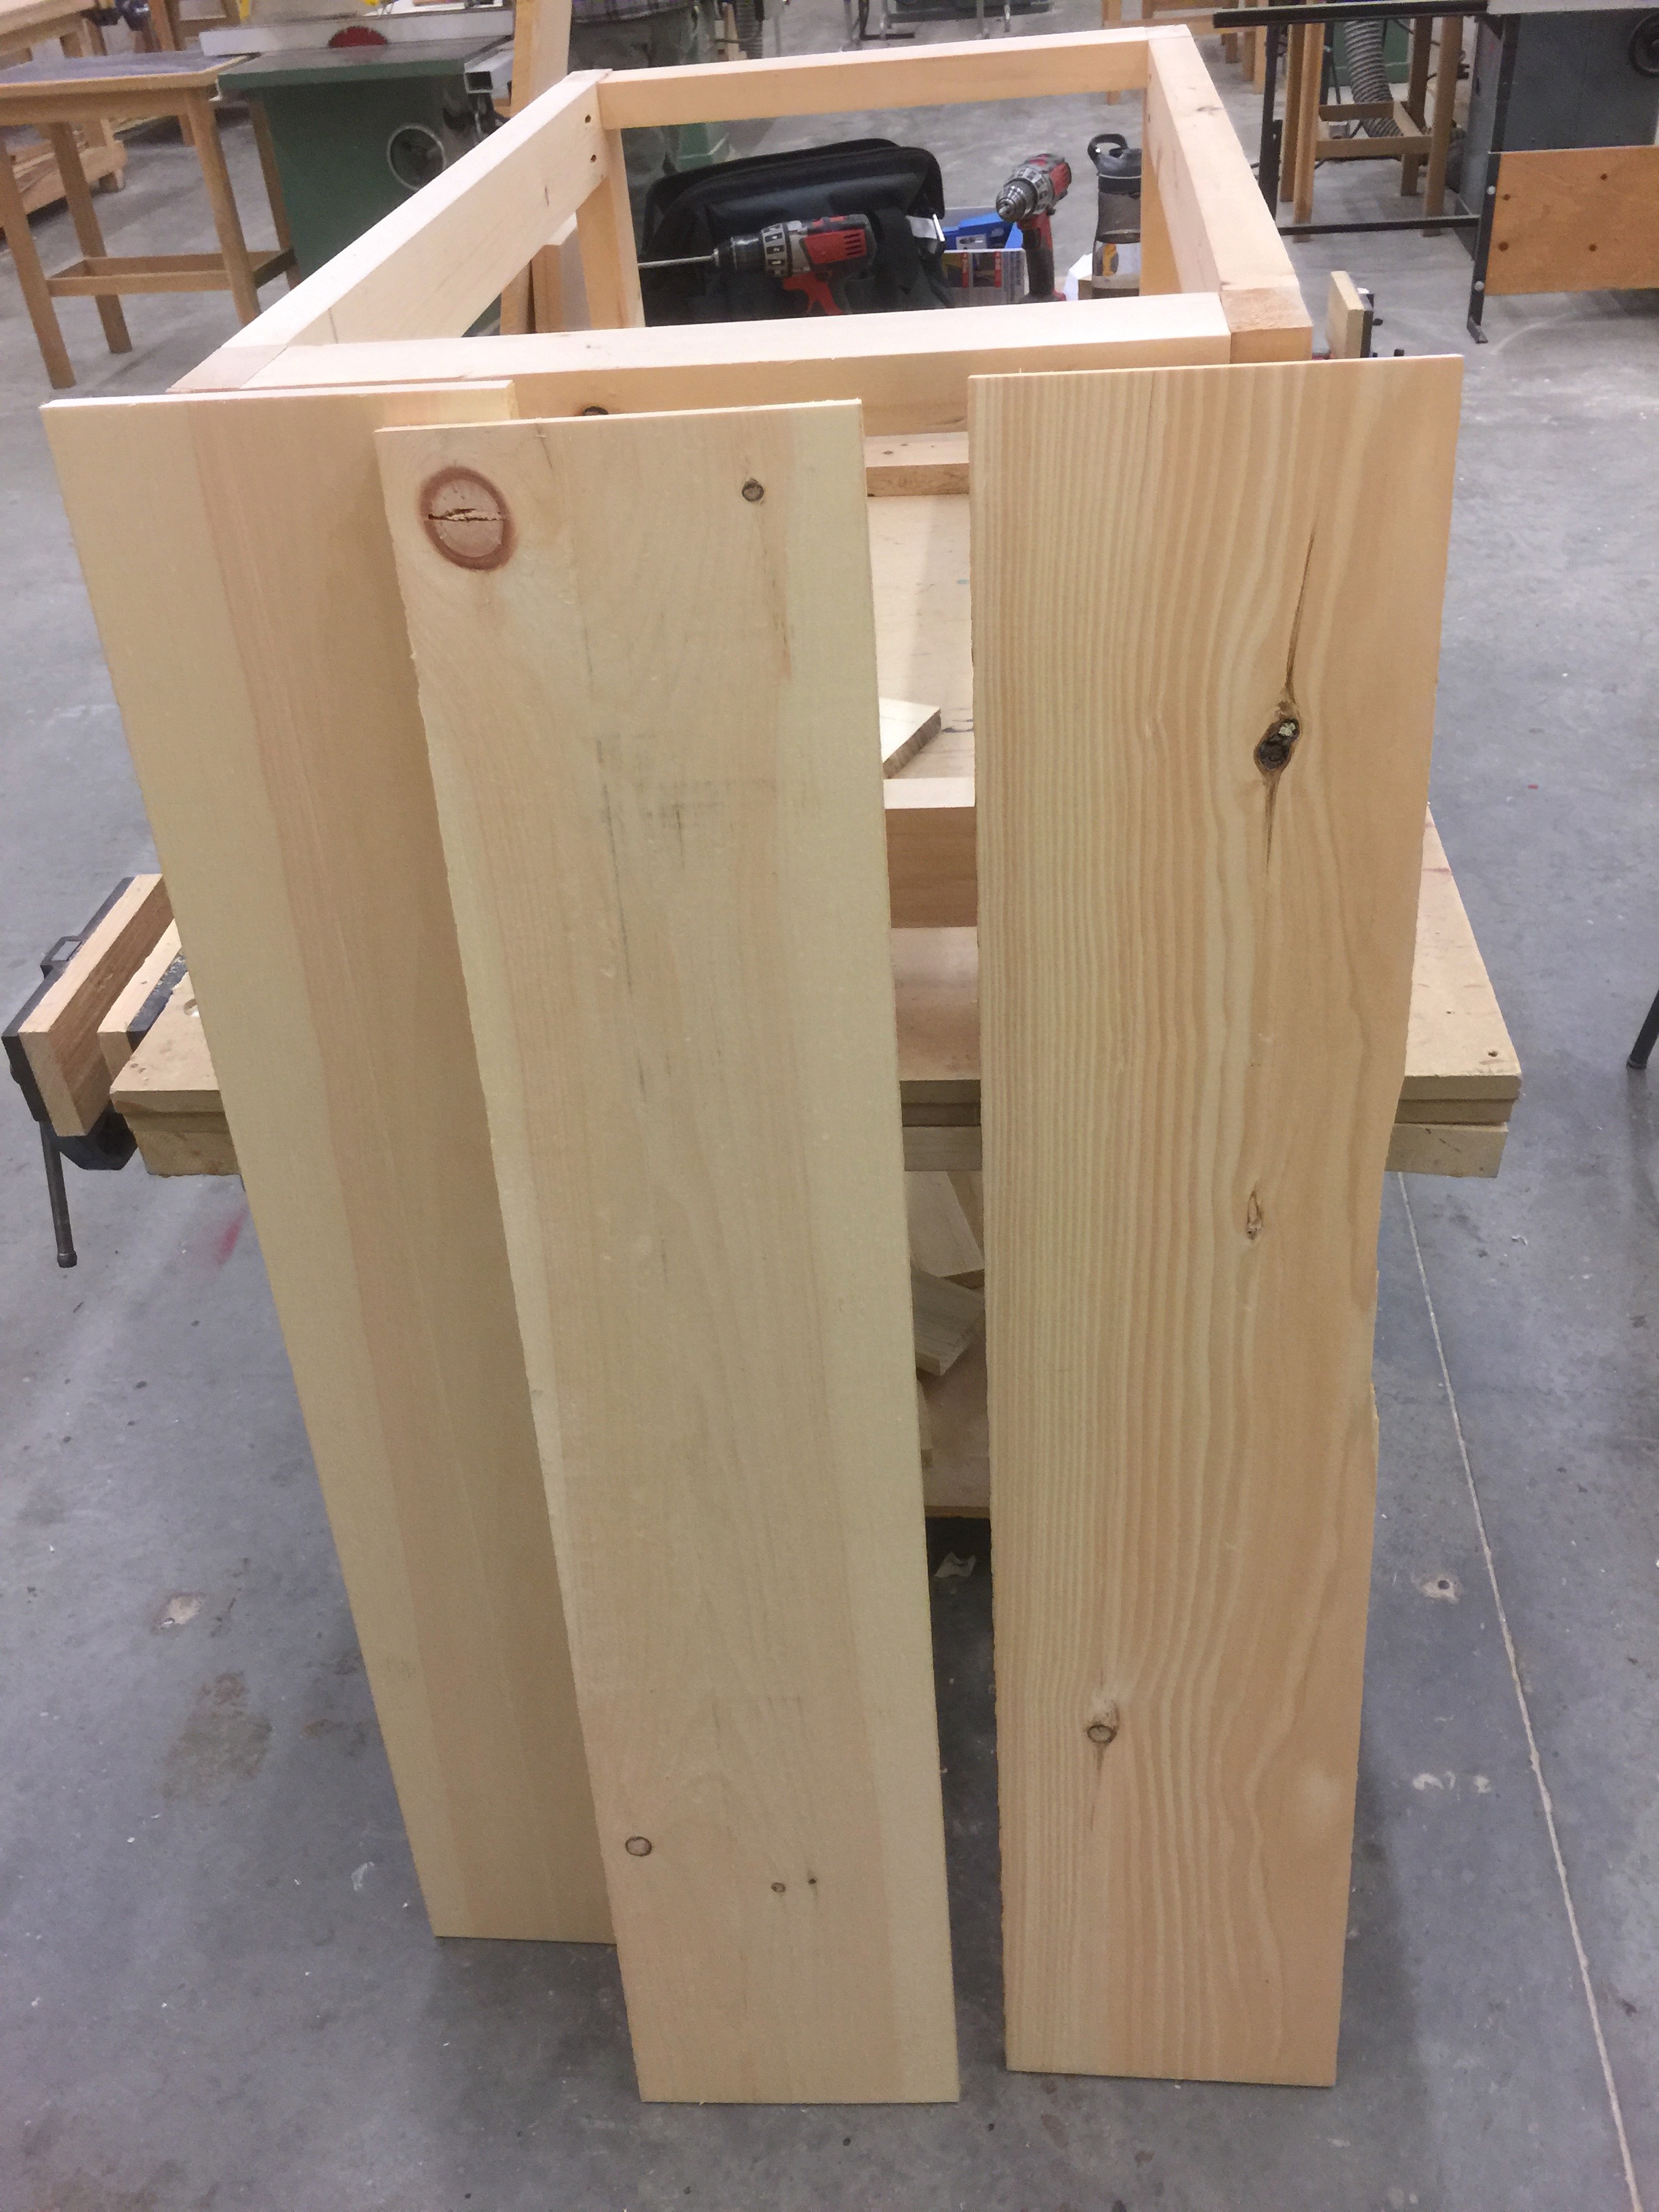
I still had about 30 minutes to go before the glue was dry on my first sign, so I decided to make support pieces for their backs. The piece I had was pretty narrow; since it was a fairly tricky cut, Adam helped me rip it into two pieces with the table saw. Next, I used a chop saw, cutting two support pieces of equal length for each of my signs. Once this step was done, my first sign was ready to go! I loosened the clamps, and then used a scraper to remove the excess glue from the sign. Then I was ready to attach my support beams. I used quick clamps to secure the sign to the table, and then got a power drill and 1 ¾” screws.
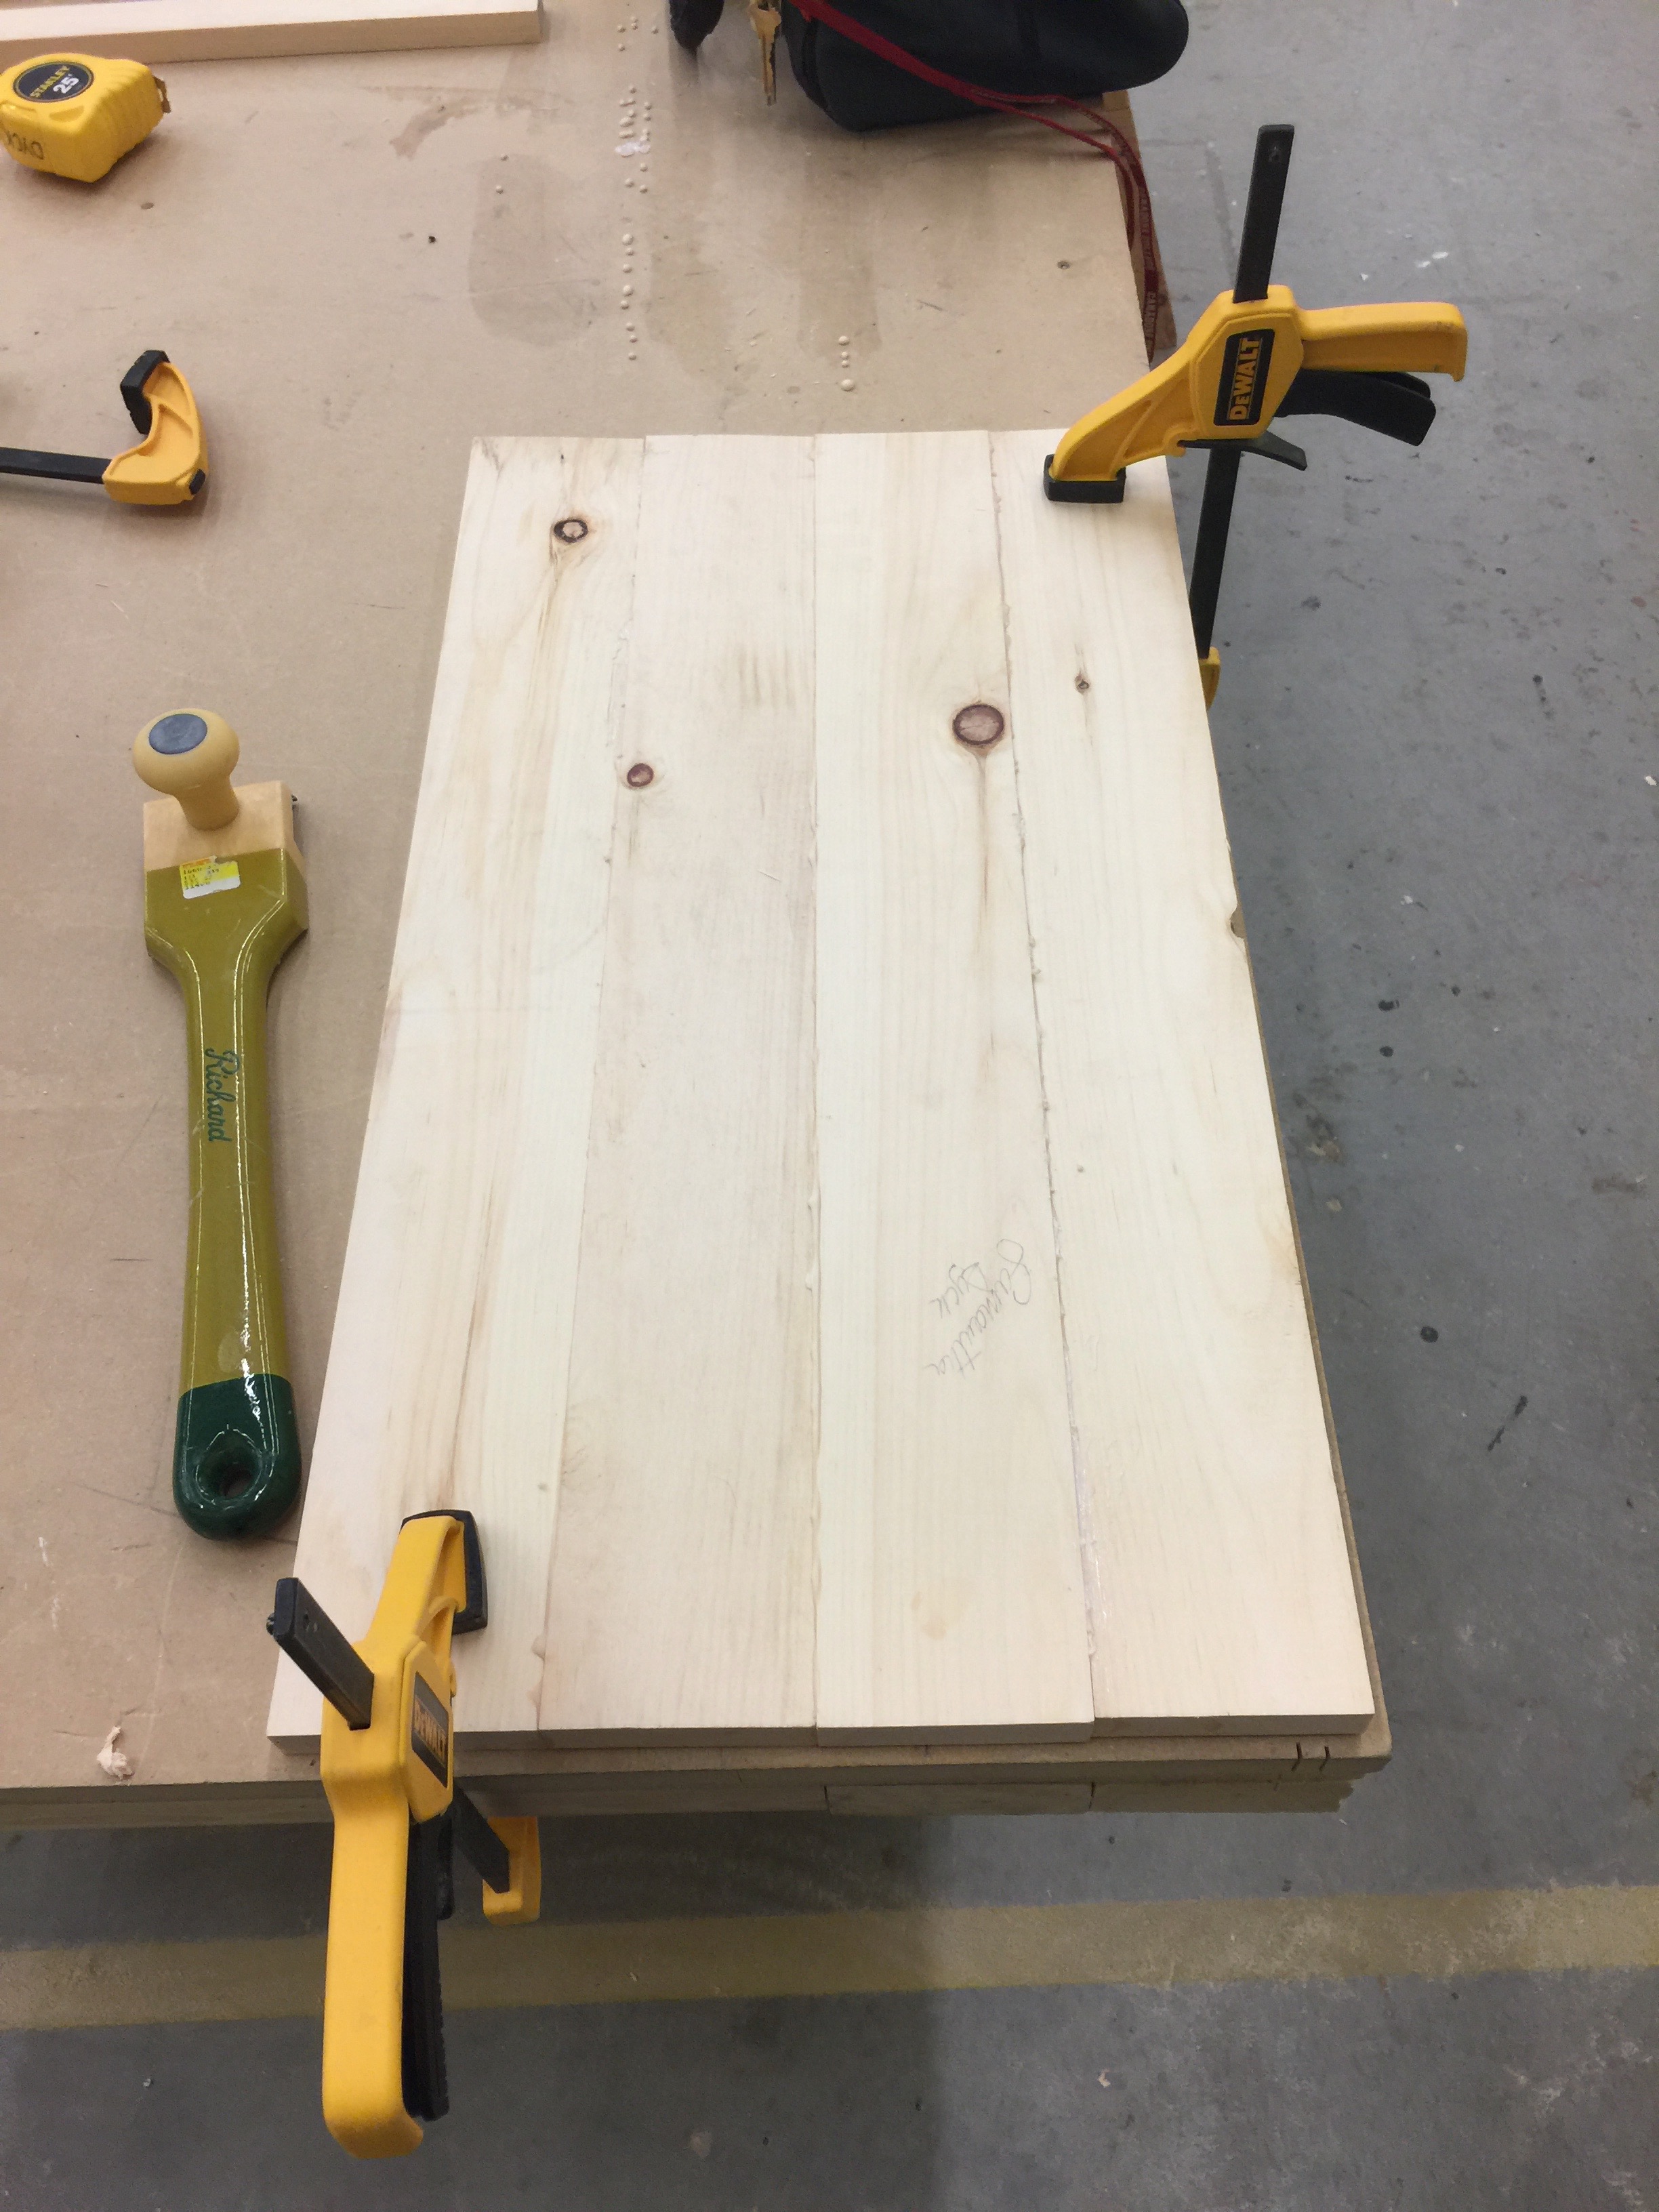
By the time I had finished this, I was ready to scrape the glue off my second sign. Again, I repeated the same process as with my first sign. After all the excess glue had been removed, I noticed the assembled sign varied in thickness. Because I hadn’t attached the support beam yet, I decided to run the piece through the thickness planer. Once I did so, and the piece was smooth and a uniform thickness, I clamped down the whole piece and support beam (on both sides this time) and attached them.
As a final step, I sanded both signs quickly with a sanding block. Ta-da! Two signs! I’m not sure if I will stain them or paint them, or even what I’ll put on them. But I’m pretty proud that this quick project was a success!
Defying Gravity
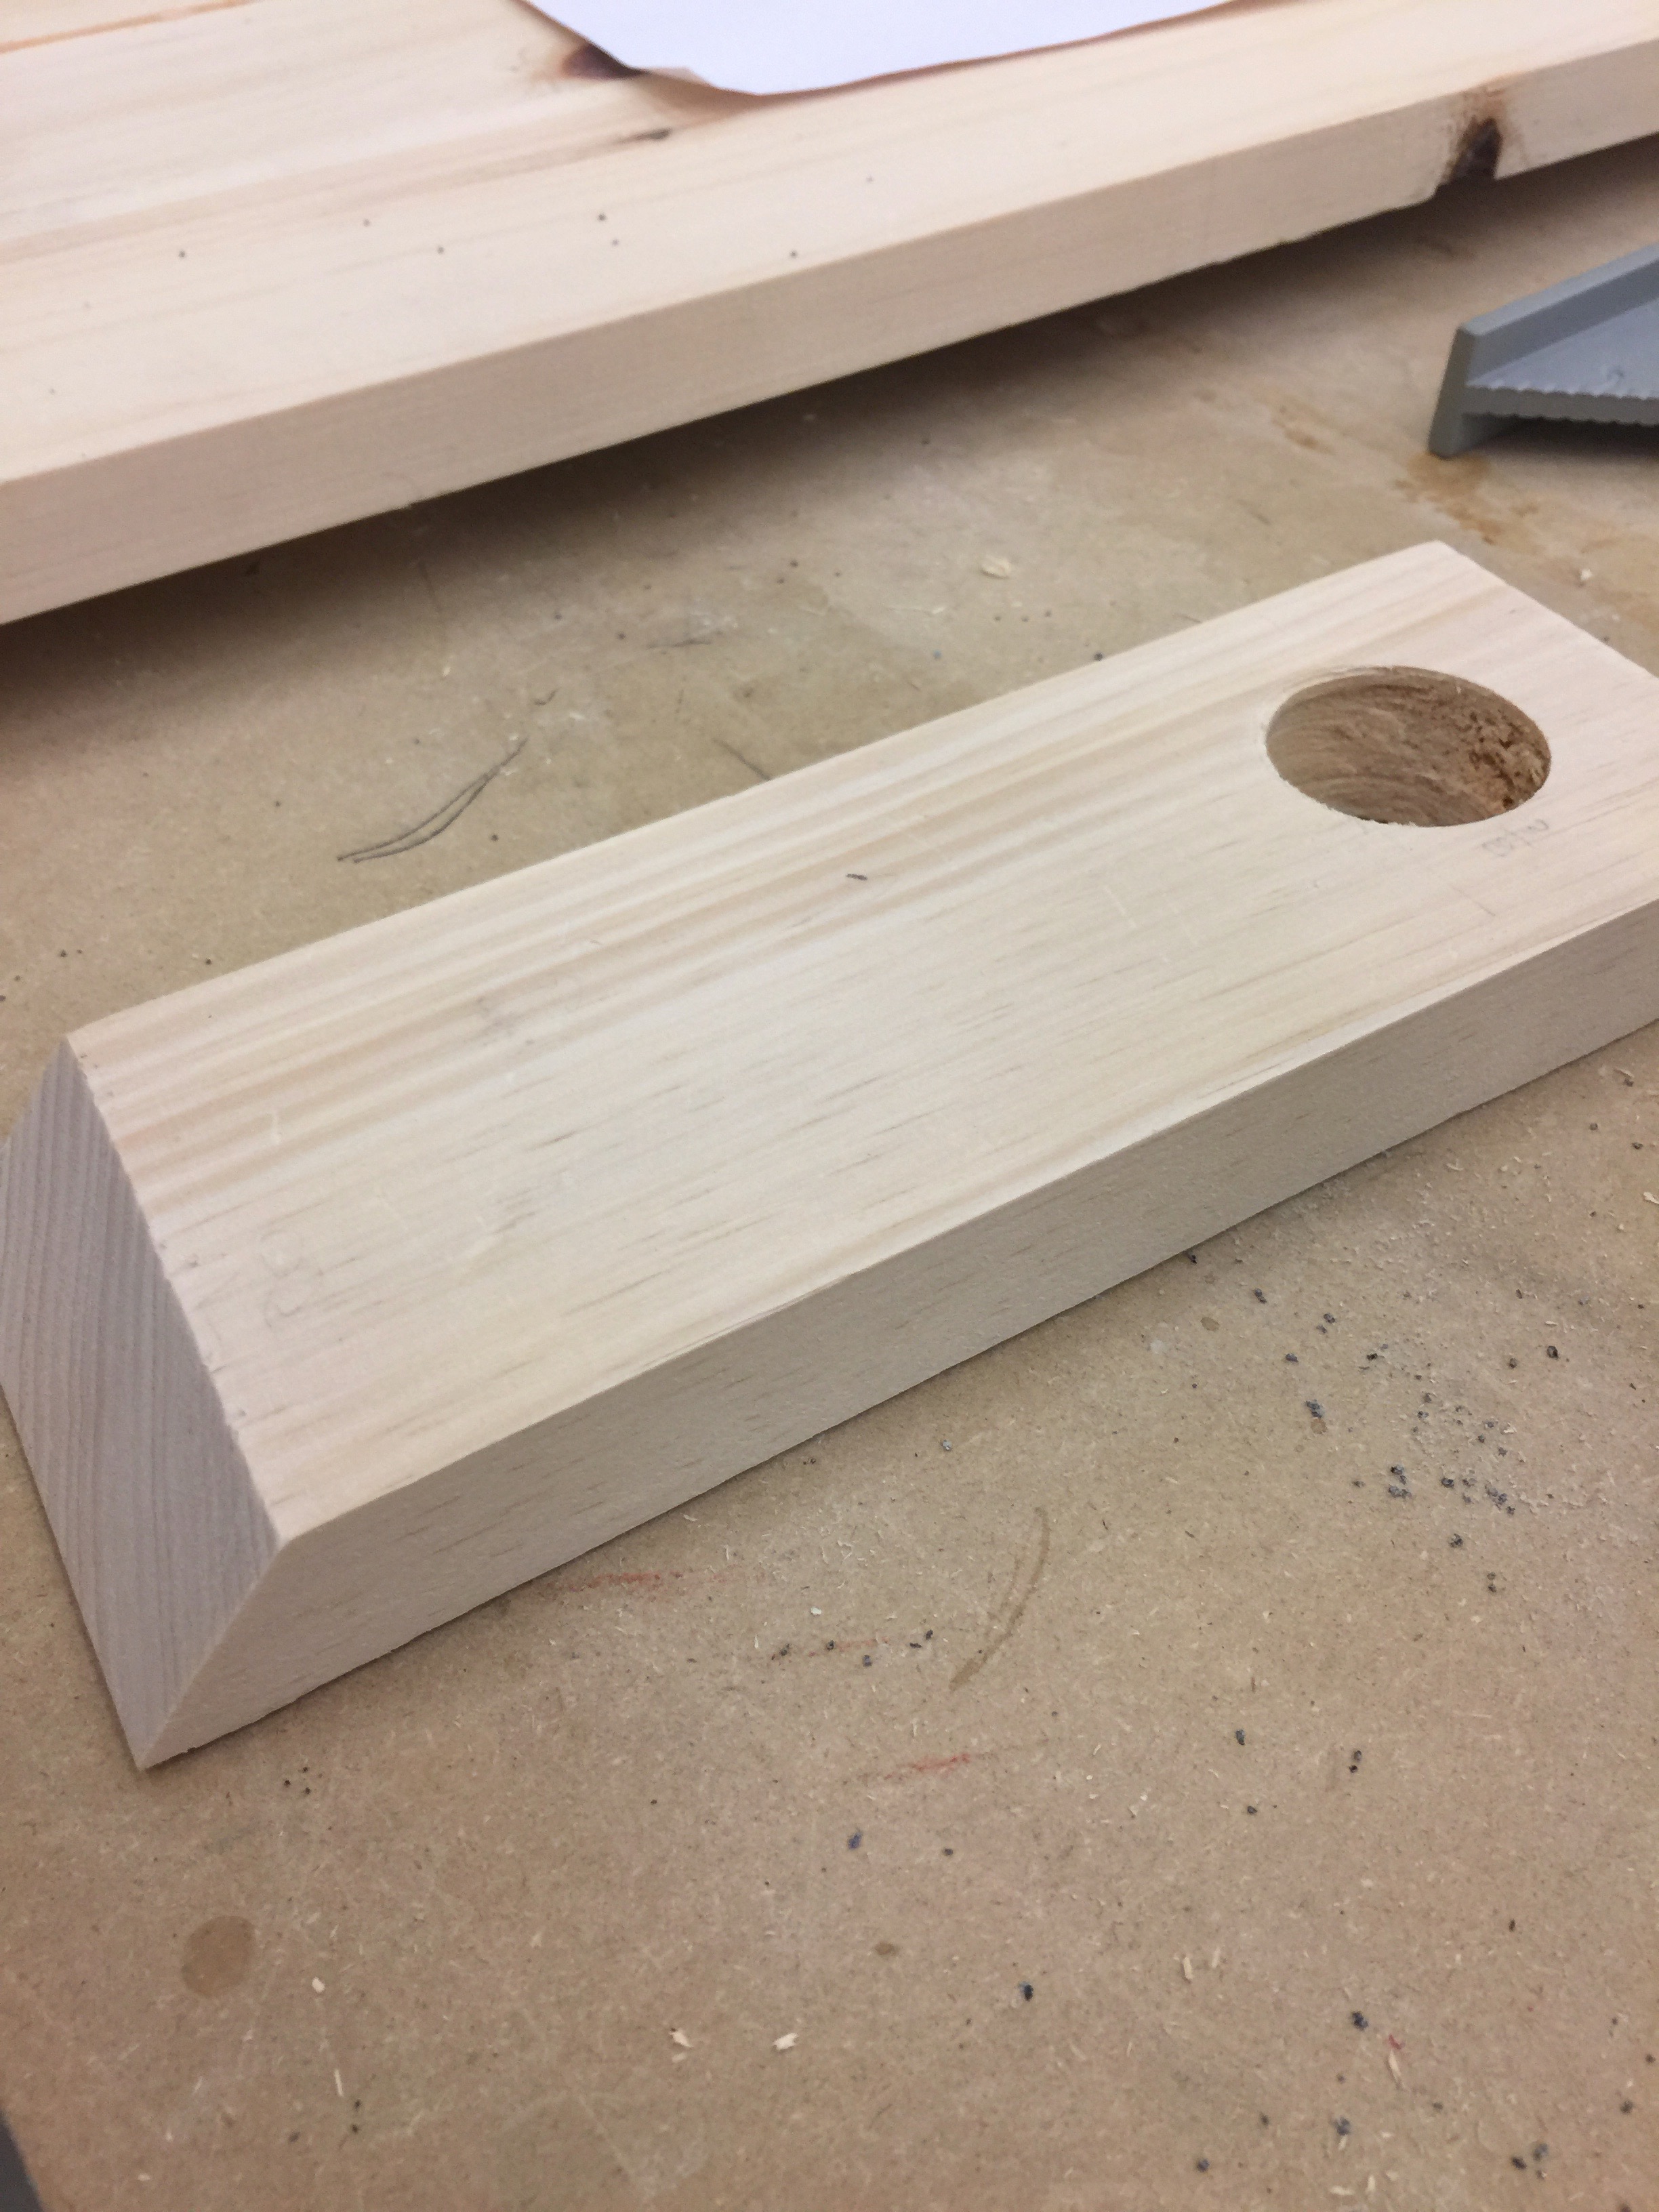
At this point, there was just over half an hour of class left over. Adam asked if I wanted to make a quick wine holder with some spare lumber. I jumped on the opportunity. He presented me with some plans for a holder that uses the weight of the bottle to balance itself, making it look like it defies gravity.
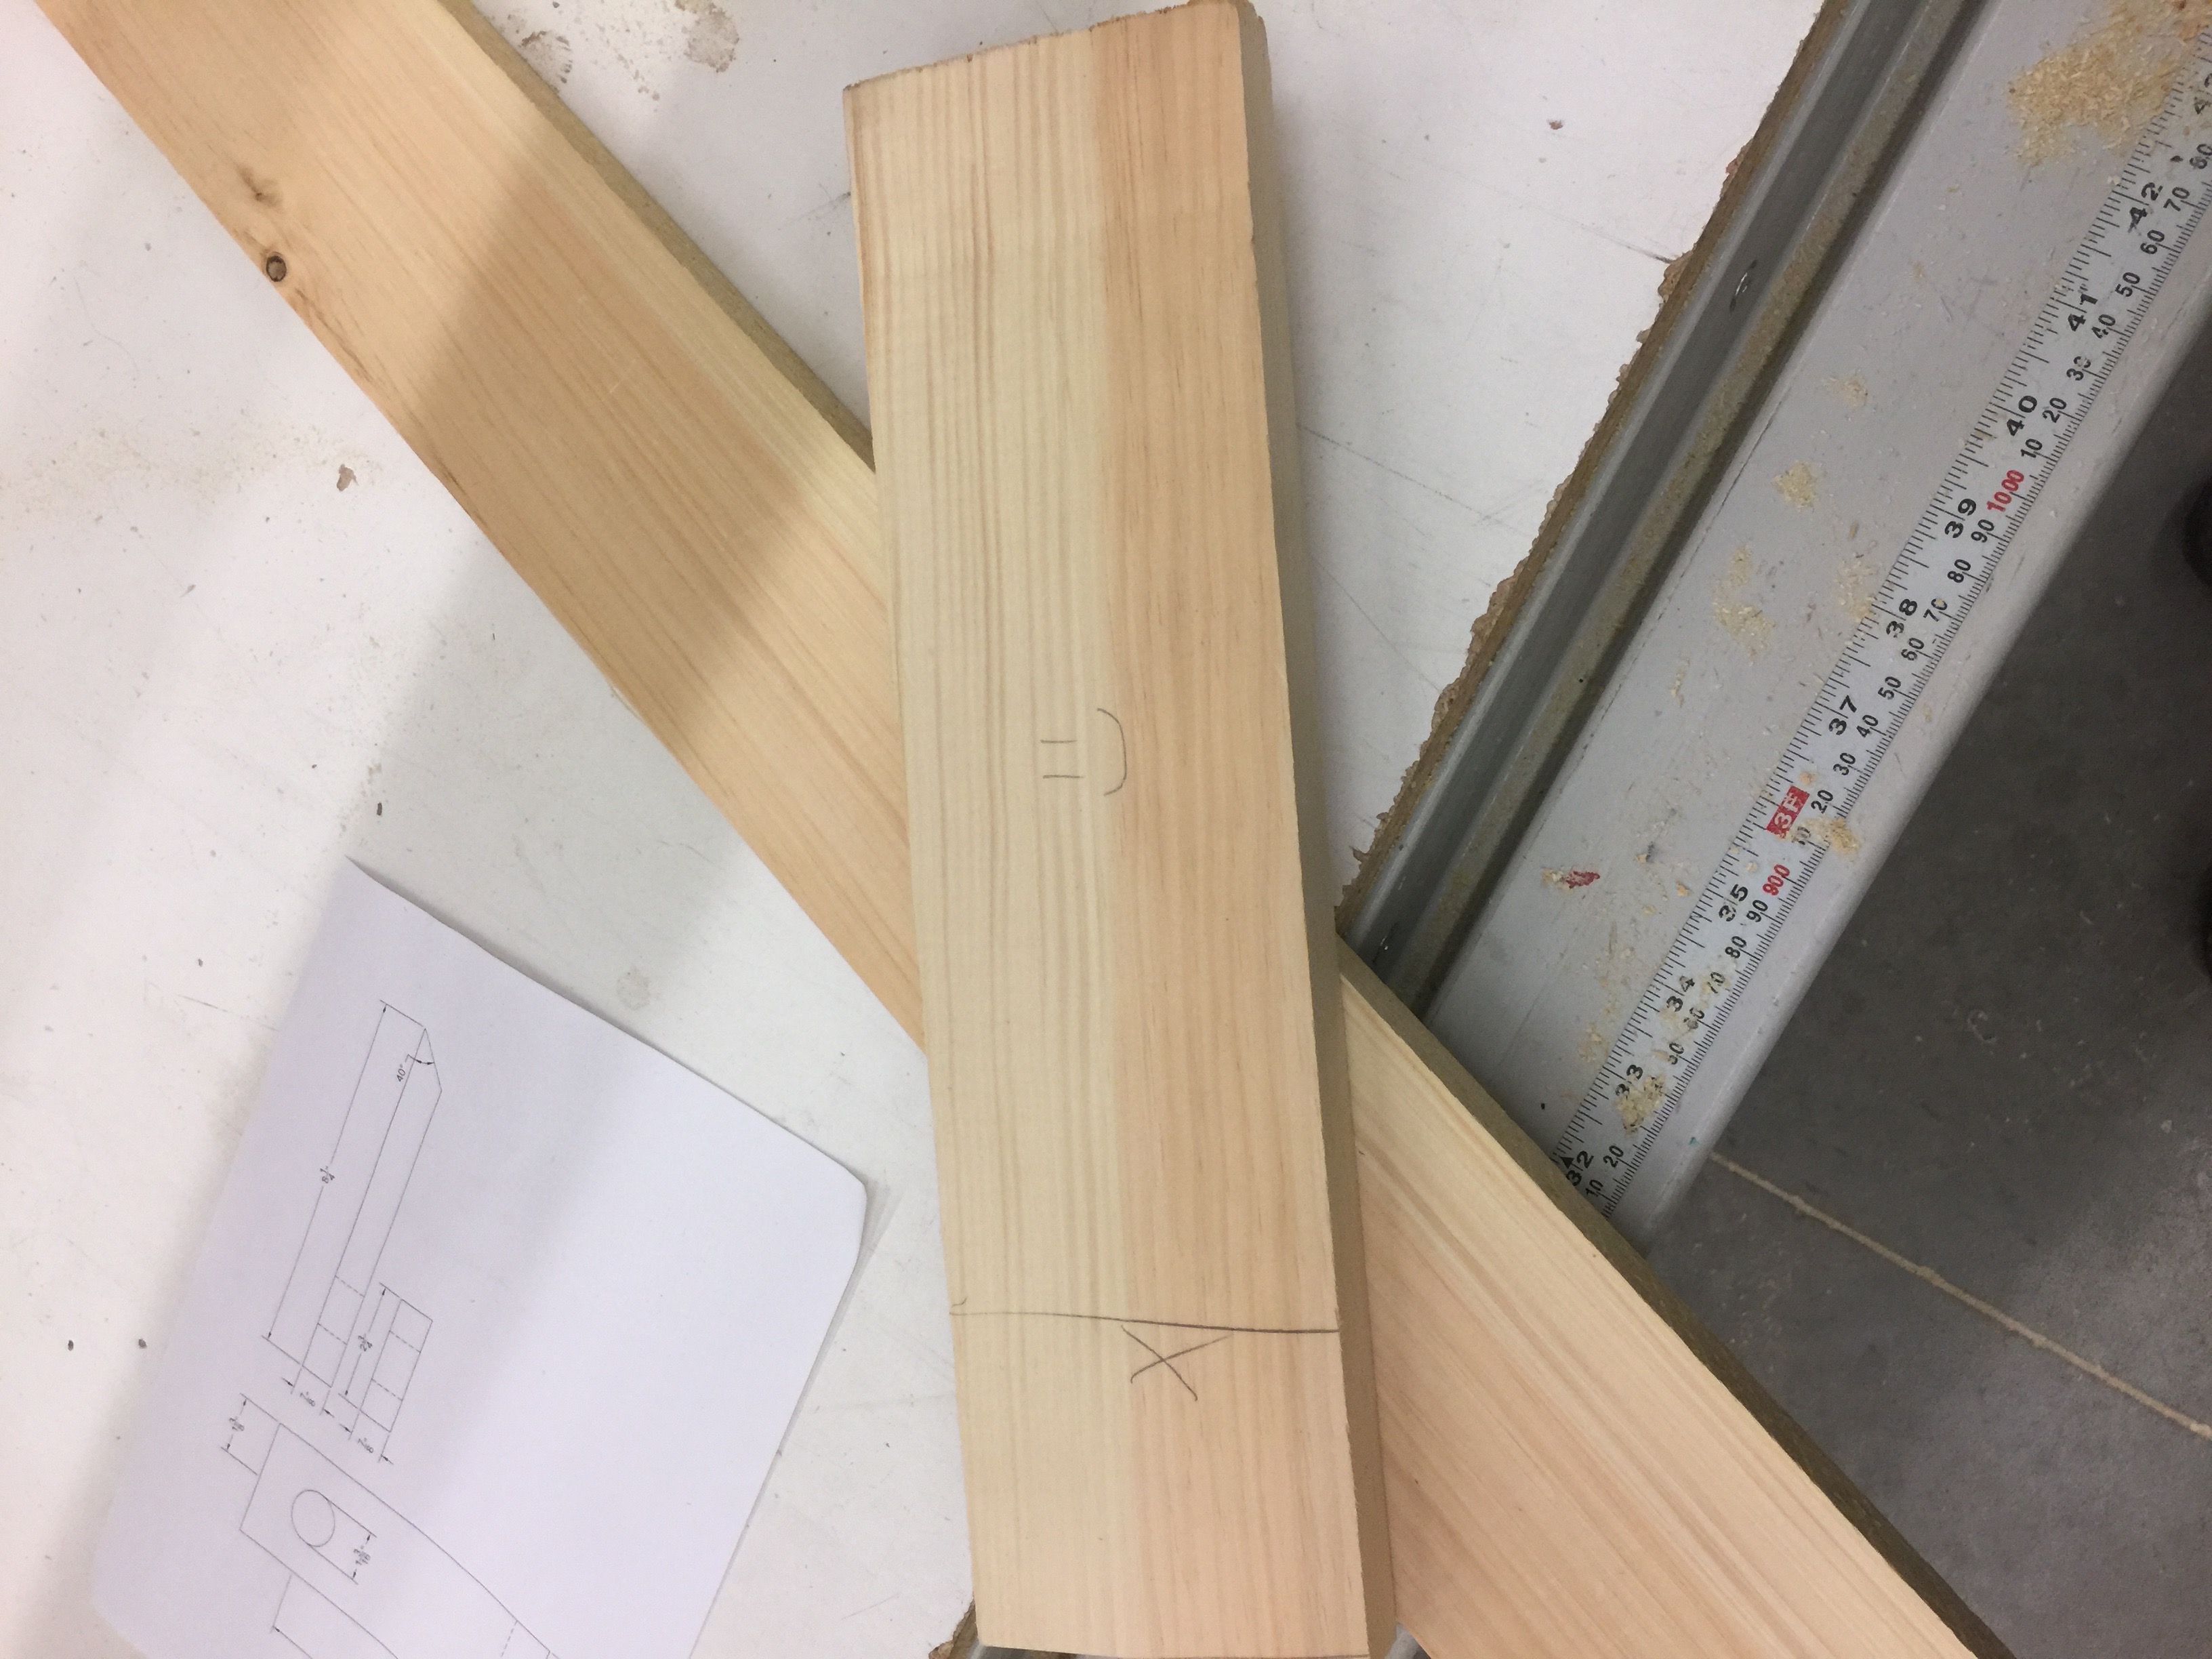
The first step was to cut the board to 6 5/8”” using a chop saw. Next, Adam and I used the table saw to rip the piece down to 2 ¾”. Next, I needed to cut one edge of the piece to 40°. I used a chop saw to do so.
Next, I needed to use a drill to bore a hole in the top centre of the piece. After securing the piece to the worktable, I carefully drilled through one side until I could see the tip poking out of the other side. Then, I flipped the piece around and finished the drilling.
Lastly, I sanded the rough edges of the holder. And then I was done!
Article by: Samantha Dyck, Operations Manager, Hard Hat Hunter
Canadore College announced a partnership with Hard Hat Hunter, a unique social media channel geared towards the trades and construction industries in November 2016.